How Configure a MongoDB Atlas Database for your Parse Server.
May, 19 2022
In the previous post we set up a Typescript Parse Server instance. Now, let's get our server connected to a MongoDB Atlas instance.
First, create a Mongo Atlas account and login and create a new project.
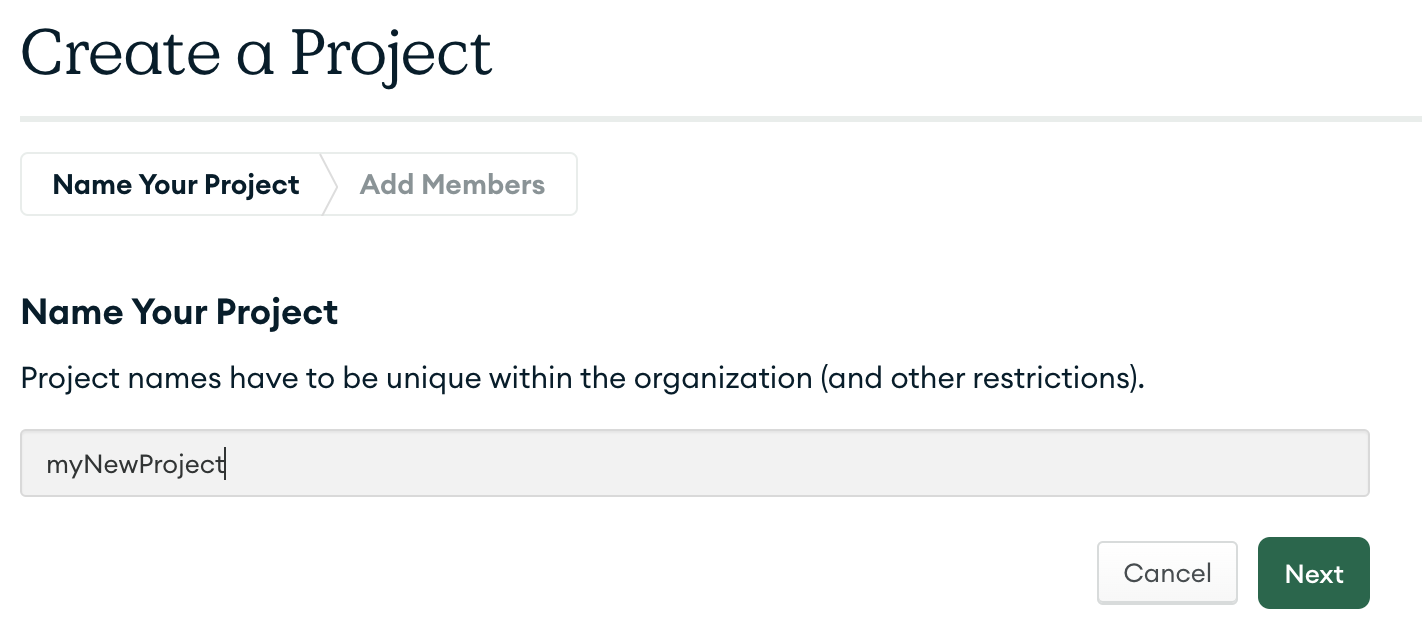
Add a database to your project by choosing the Build a Database option in your new project.

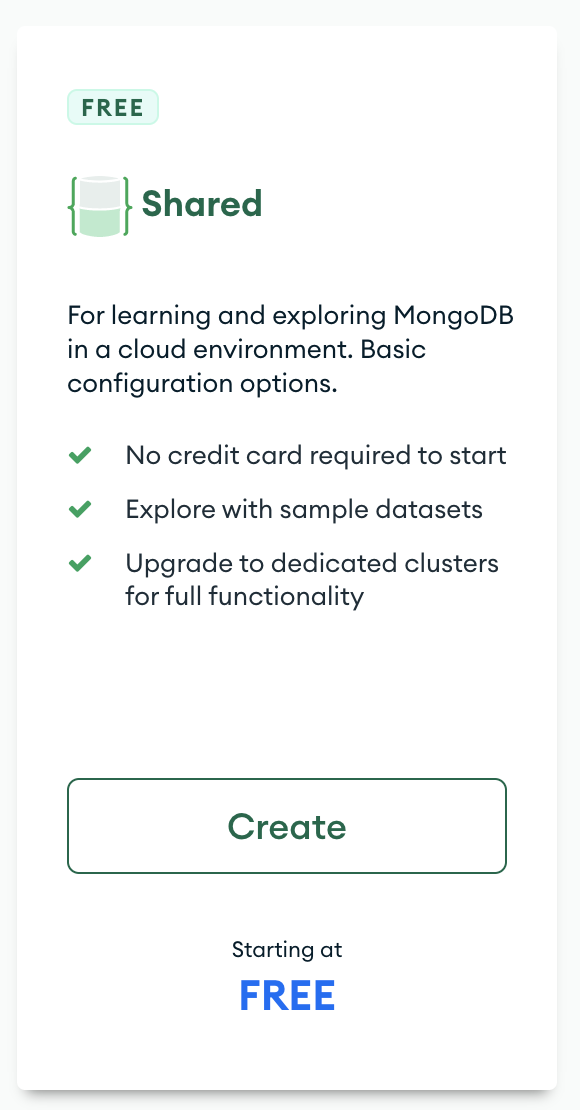
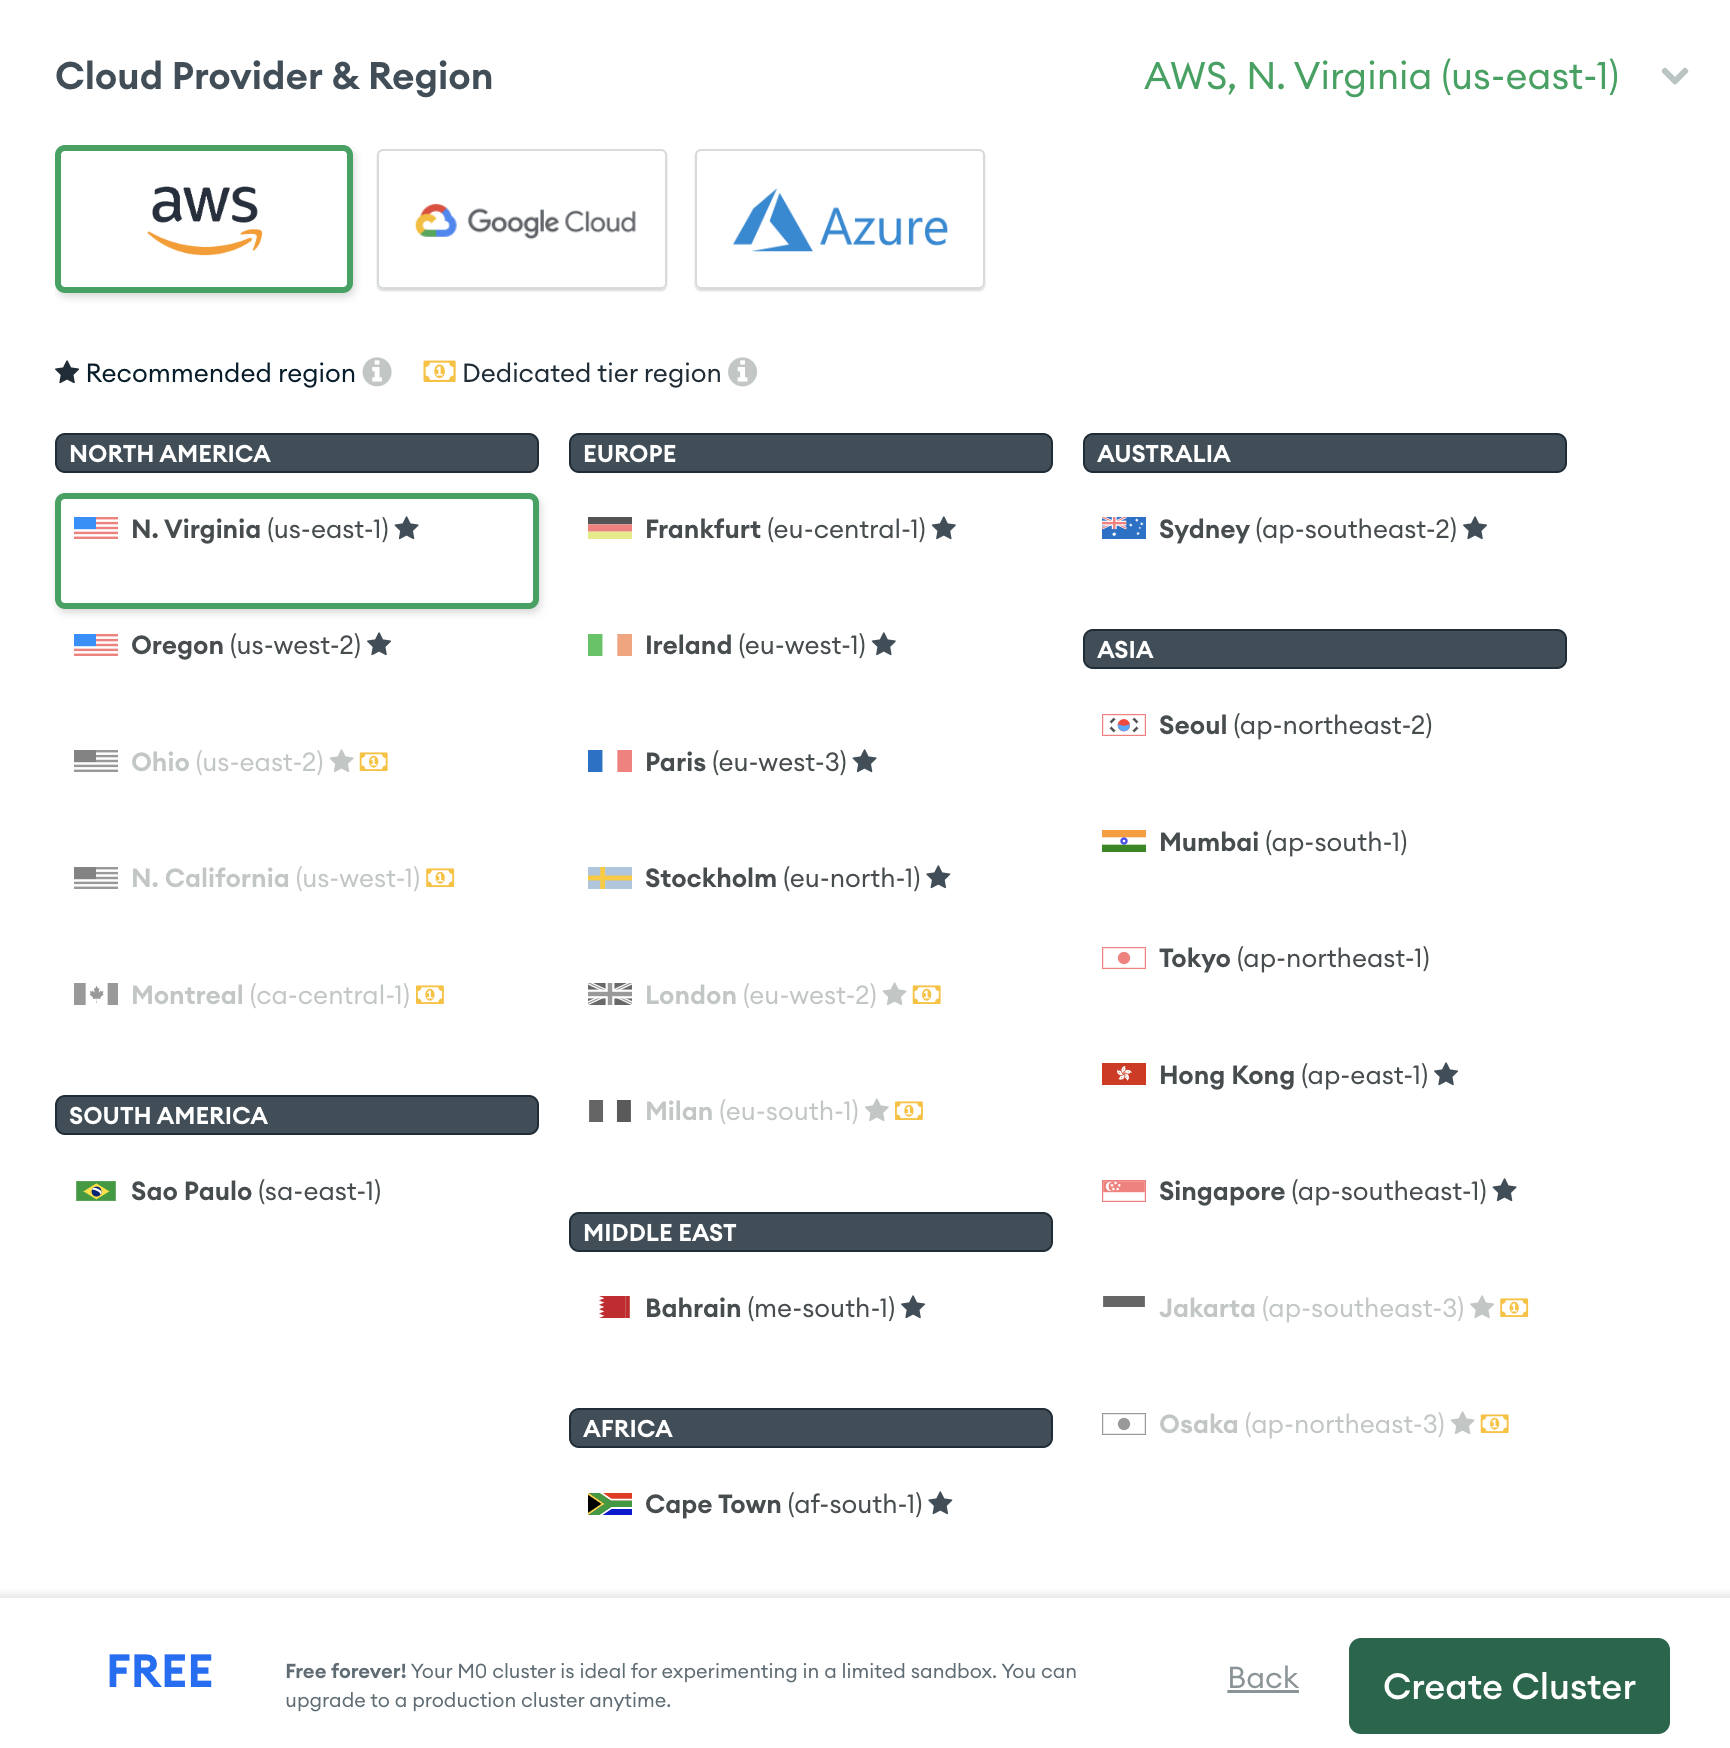
Accept all of the defaults avoiding any paid tiers for now.
Next, we'll need to add a new user that will be used to connect to the db. Keep note of your user account information, this will be used in our Parse code to connect to this instance.
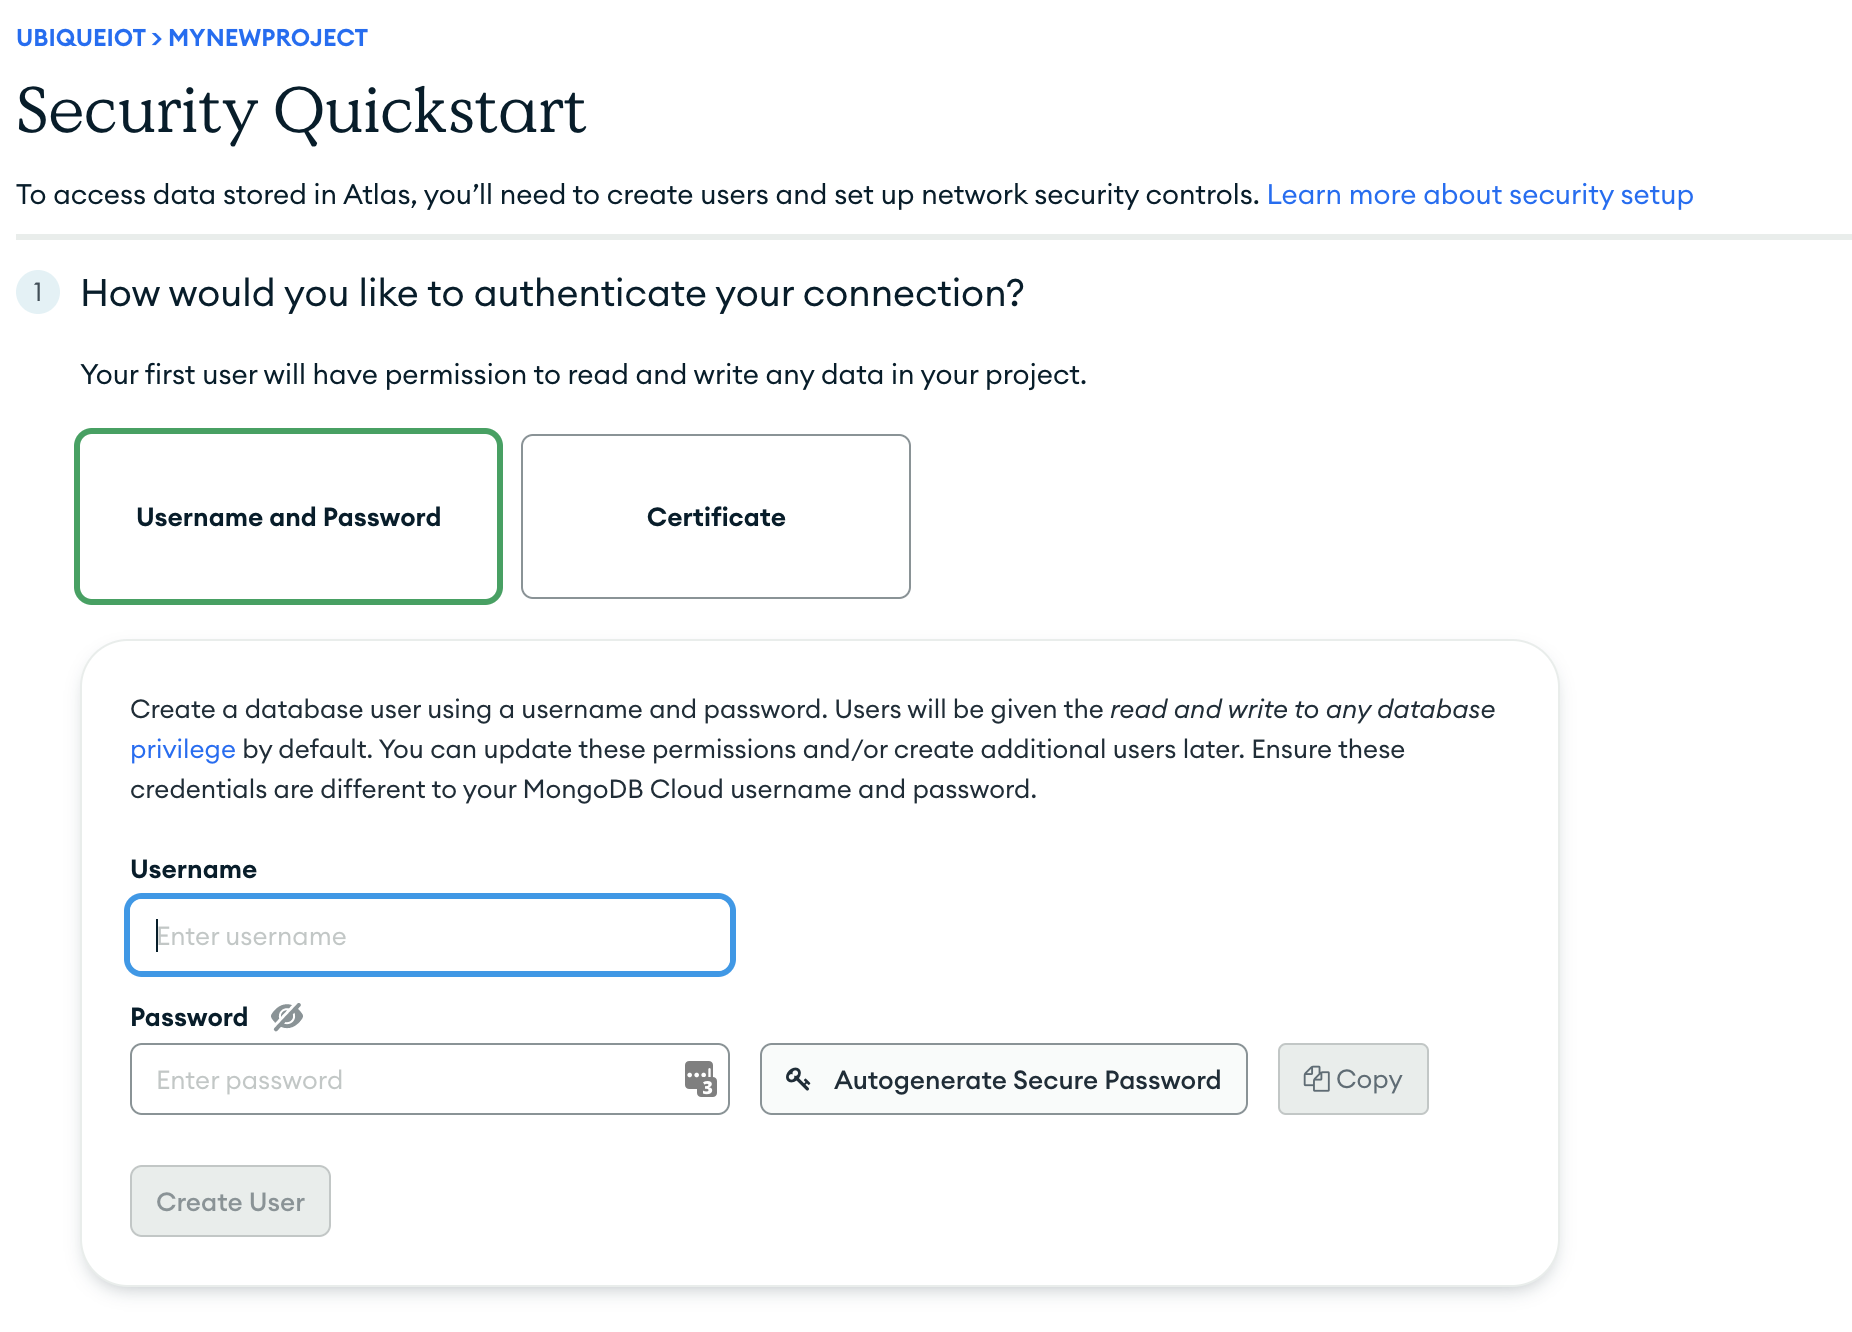
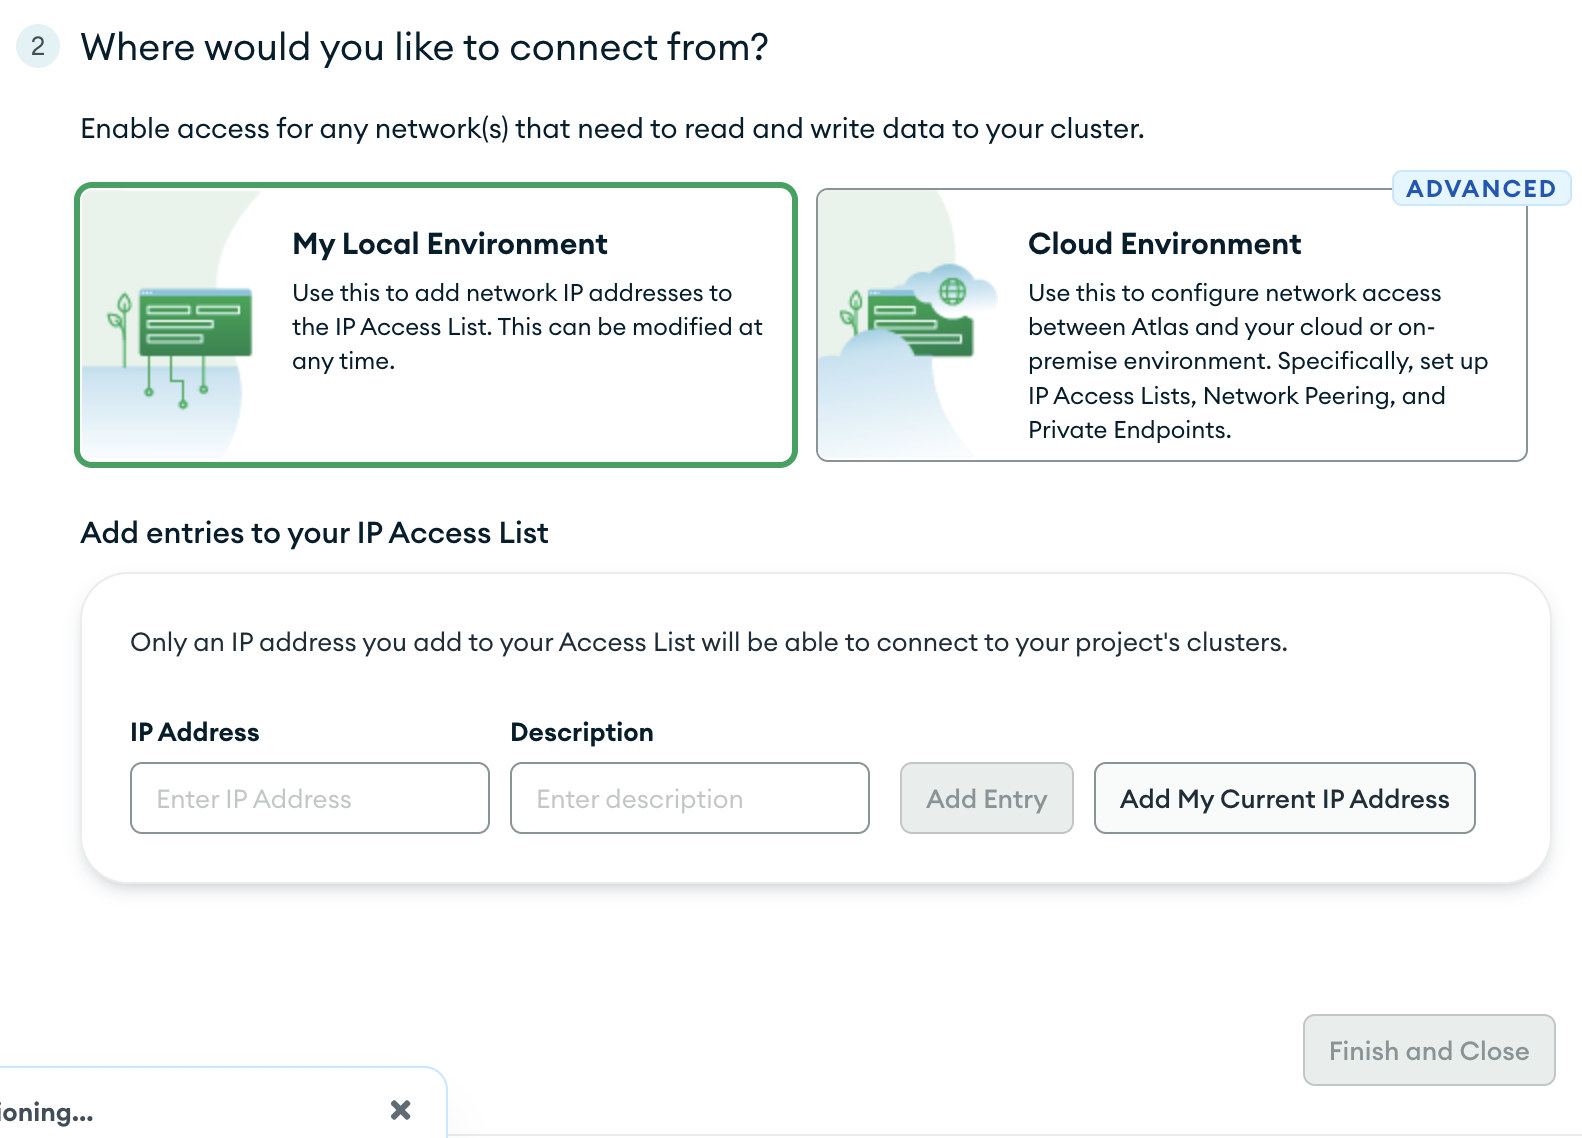
Choose the Add My Current IP Address button so that your current IP address can connect locally to your database.
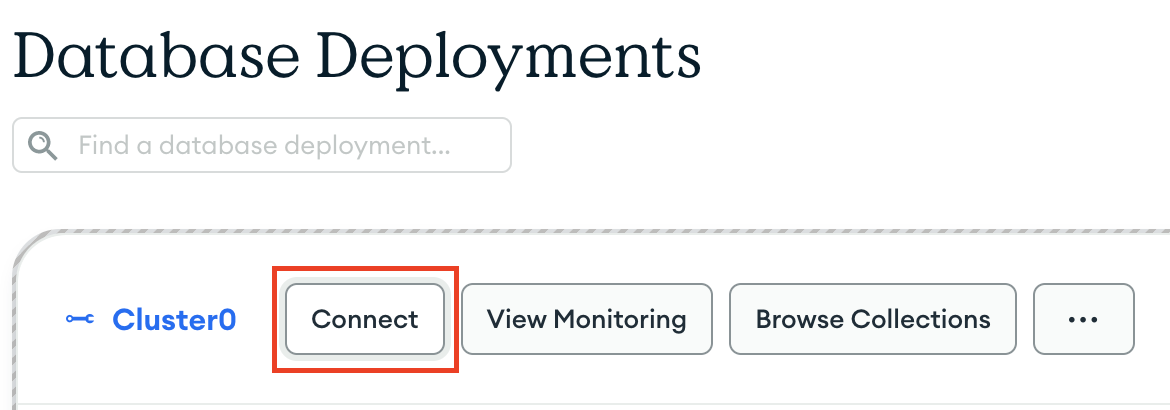
Once back in the main menu of your project, choose the connect option
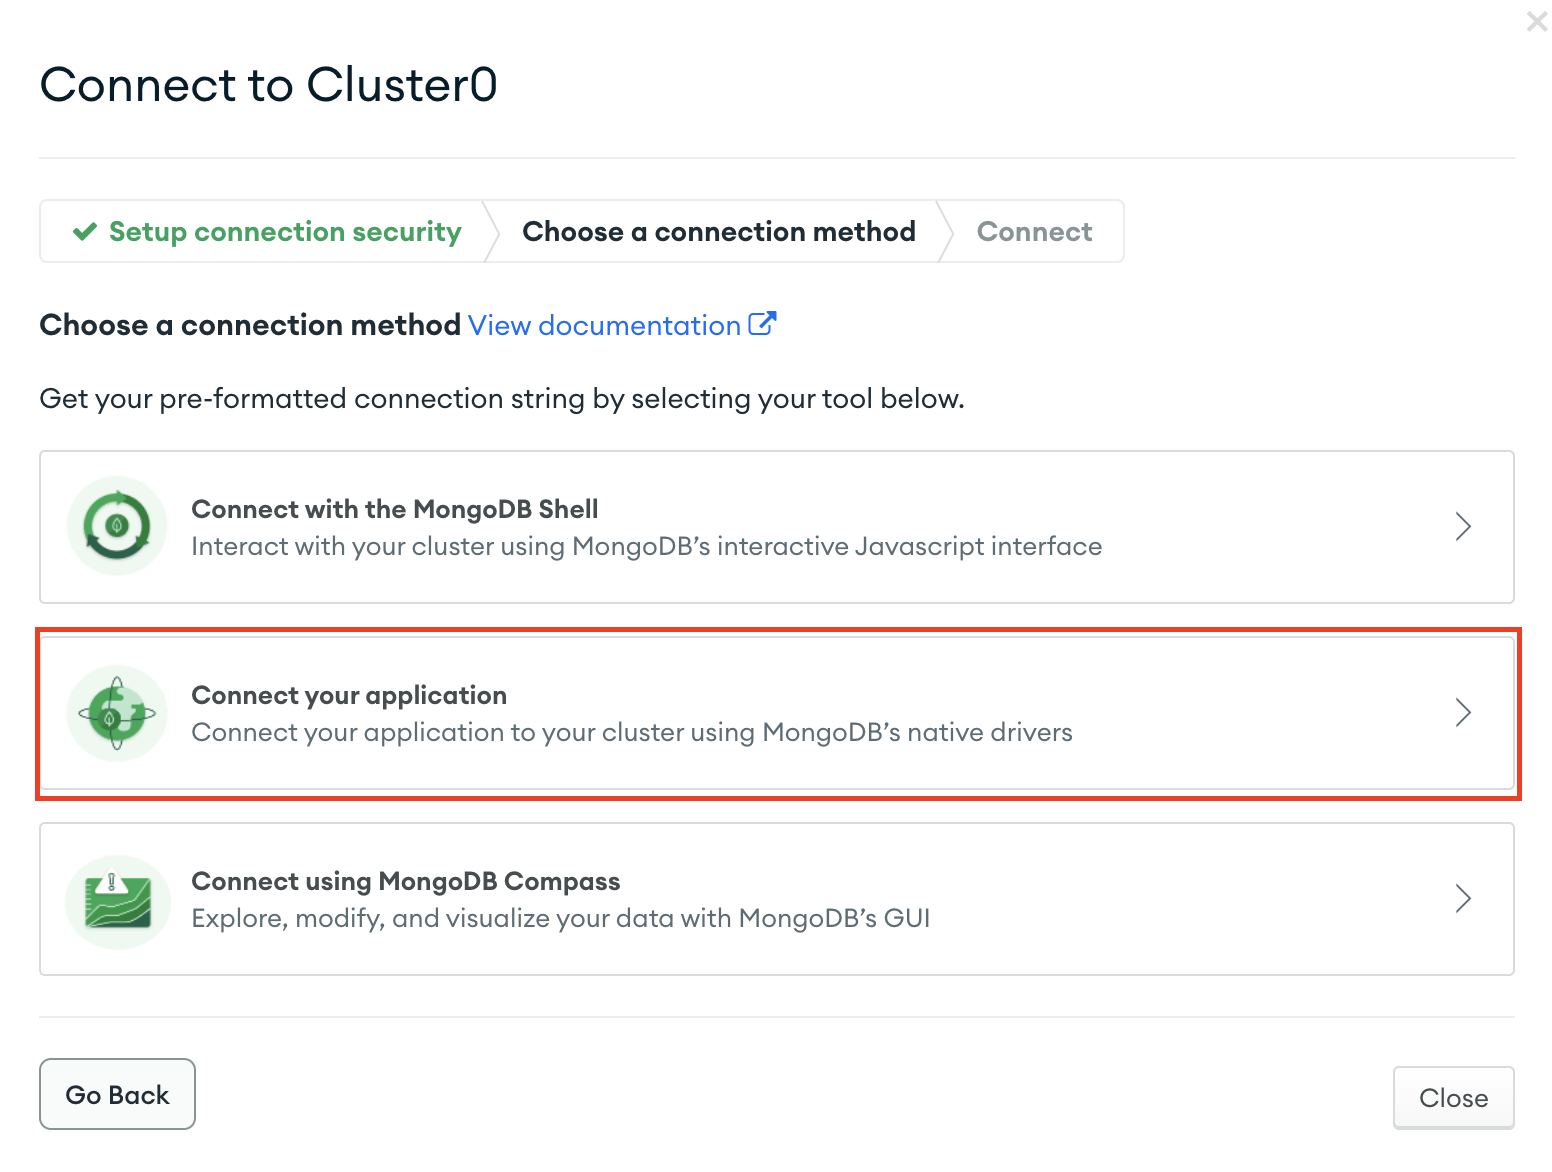
Connect using mongodb native drivers
Copy the connection string
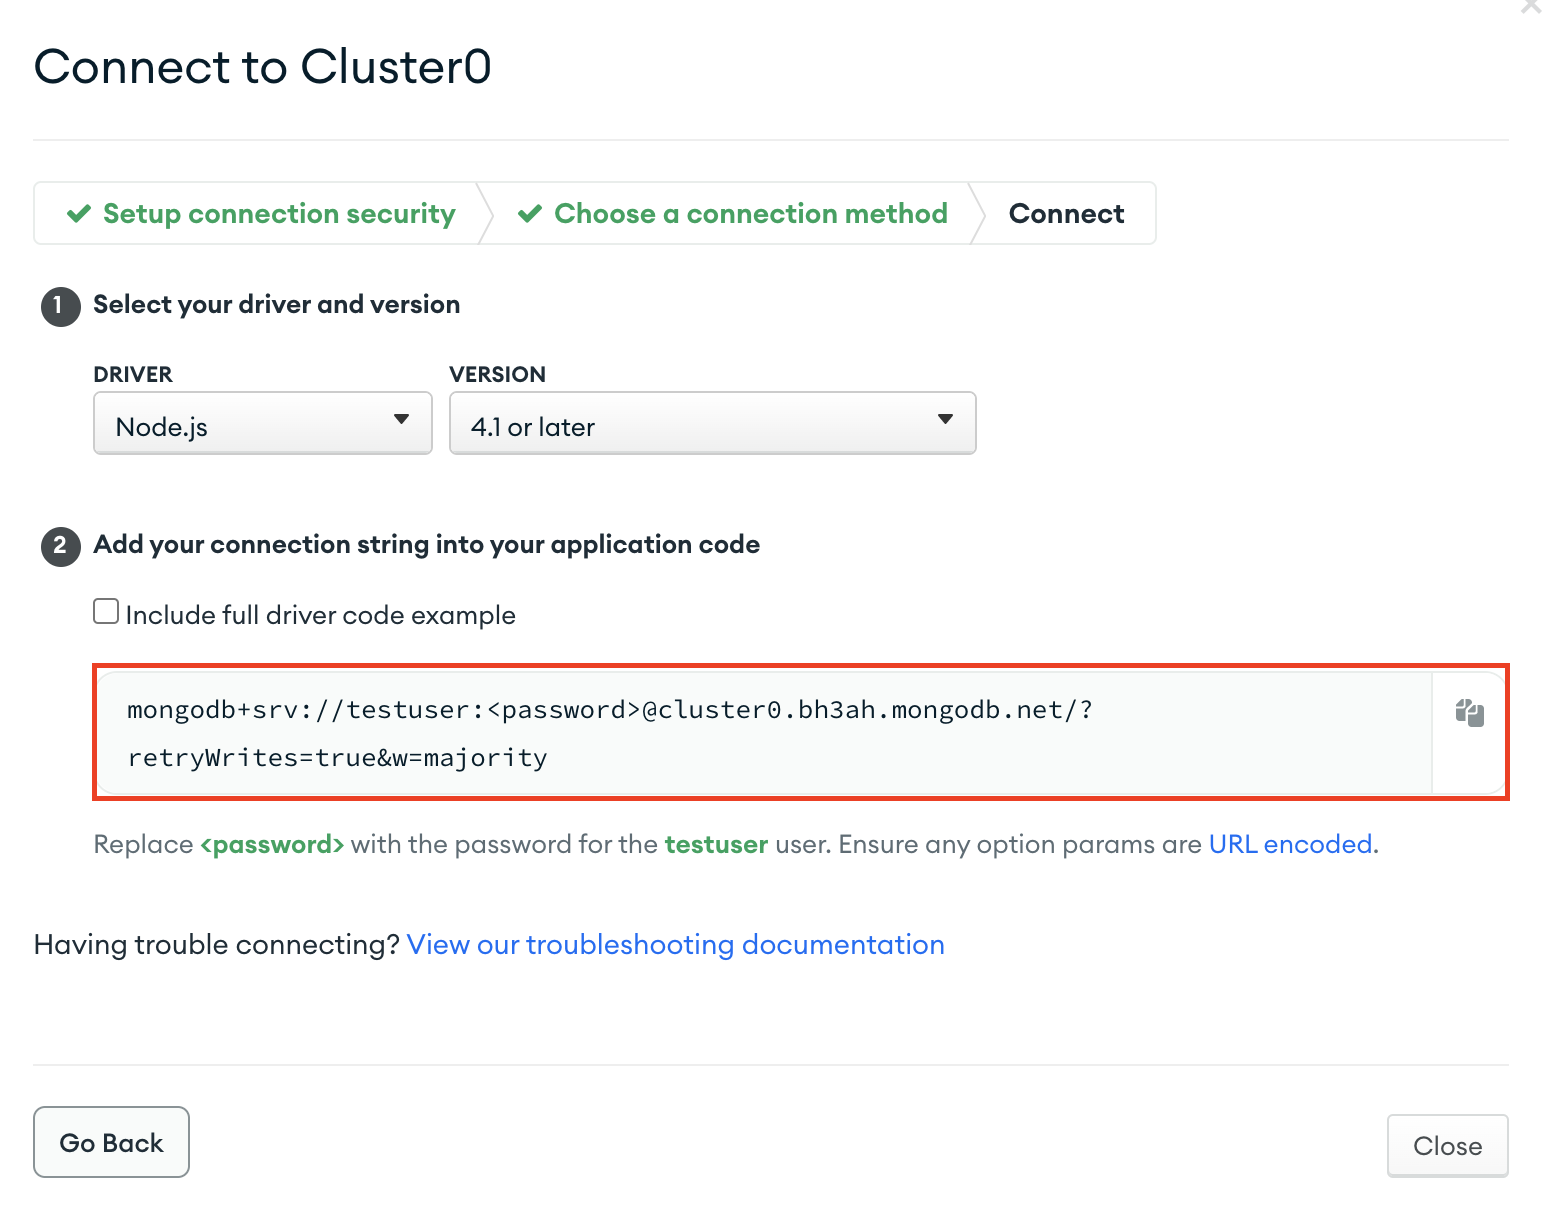
Paste the connection string to your index.js file under your databaseURI config:
databaseURI: 'mongodb+srv://<replace-with-username-(no-brackets)>:<replace-with-password-(no-brackets)>@cluster0.bh3ah.mongodb.net/?retryWrites=true&w=majority'
Finally, go back to MongoDB Atlas and update the network access settings so that our ElasticBeanstalk instance can connect.
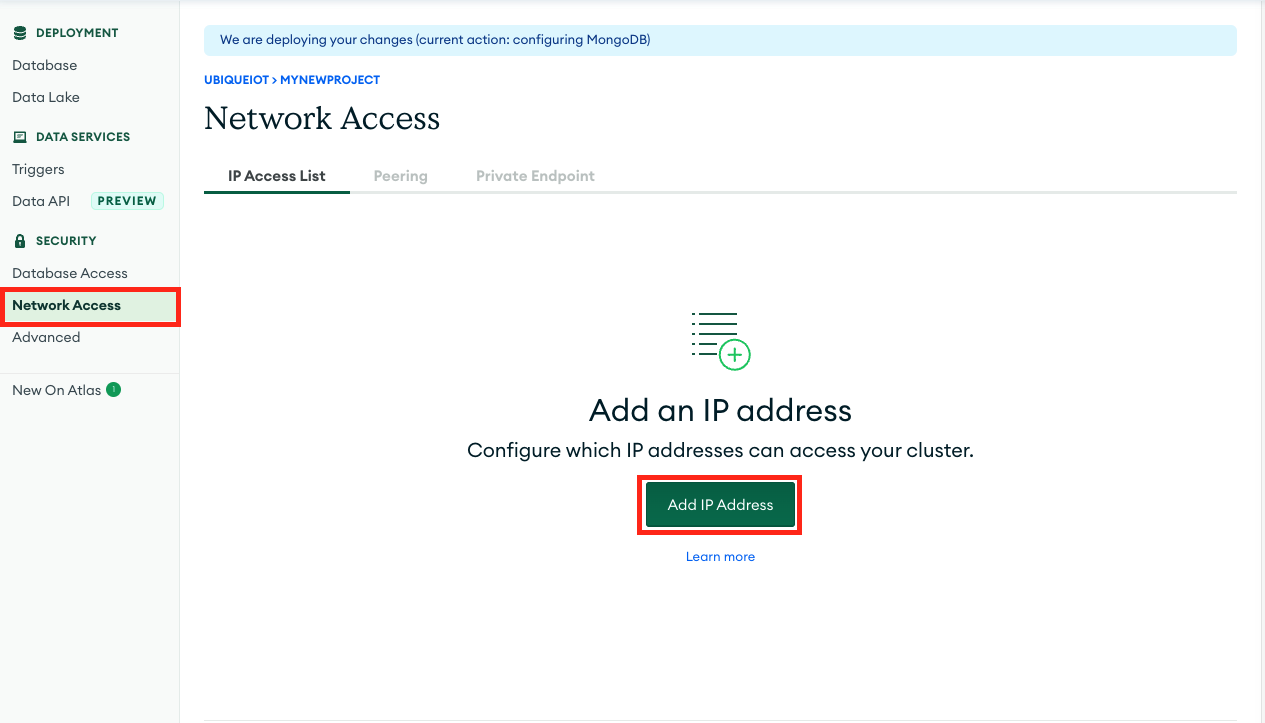
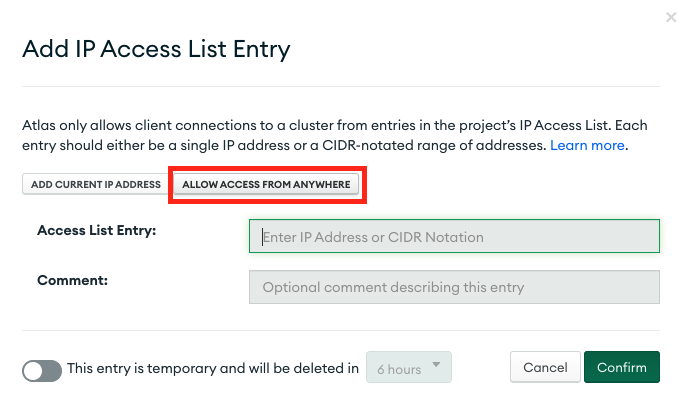
❗️ Please treat this as a temporary solution. When you go to production, you will need to set up a secure VPC connection between ElasticBeanstalk and MongoDB.
This is a great guide on how to configure VPC peering.
There are some valuable notes in this guide as well.
Let's run our Parse Server locally to make sure it can connect to the Mongo instance.
In your Parse project run npm run start and confirm that your server does not time out. It should now be connected to your database.
In the next section we'll deploy this project to an Elasticbeanstalk environment.